Propagating Plants from Cuttings: A Step-by-Step Guide
Dear friend,
There’s a quiet kind of magic that comes with propagation. No bells, no whistles—just a gentle snip, a bit of patience, and then, one day, the faint resistance of a root forming beneath your fingers.
In a world that seems to chase speed and instant gratification, taking the time to grow something from a cutting is an act of slowing down, of getting in step with nature’s quieter rhythm. And August, lush and generous as it is, offers the perfect window to try your hand at it.
We’re at that moment in the season when plants have put on good growth—vigorous, leafy stems that are still pliable but sturdy. Many of our favorite herbs, perennials, and shrubs are in their prime. And with a few simple tools and a little care, those same stems can become new plants entirely, ready to settle in as fall arrives.
The Basics: When and How to Take Cuttings
Not all cuttings are created equal. The plant world, being wonderfully diverse, offers different propagation windows for different types of growth.
In August, we’re mostly working with softwood and semi-hardwood cuttings. Softwood cuttings come from tender, green, flexible stems—typically new growth that hasn’t yet toughened. Semi-hardwood cuttings, on the other hand, are a little firmer and often come from this year’s growth that’s started to mature.
Early morning is the best time to take your cuttings. The plant is fully hydrated, less stressed, and its internal processes haven’t yet been slowed by heat. Bring clean, sharp snips (wiped down with rubbing alcohol) and something to keep your clippings cool and moist—a damp paper towel, a plastic bag, or a small jar of water will do just fine.
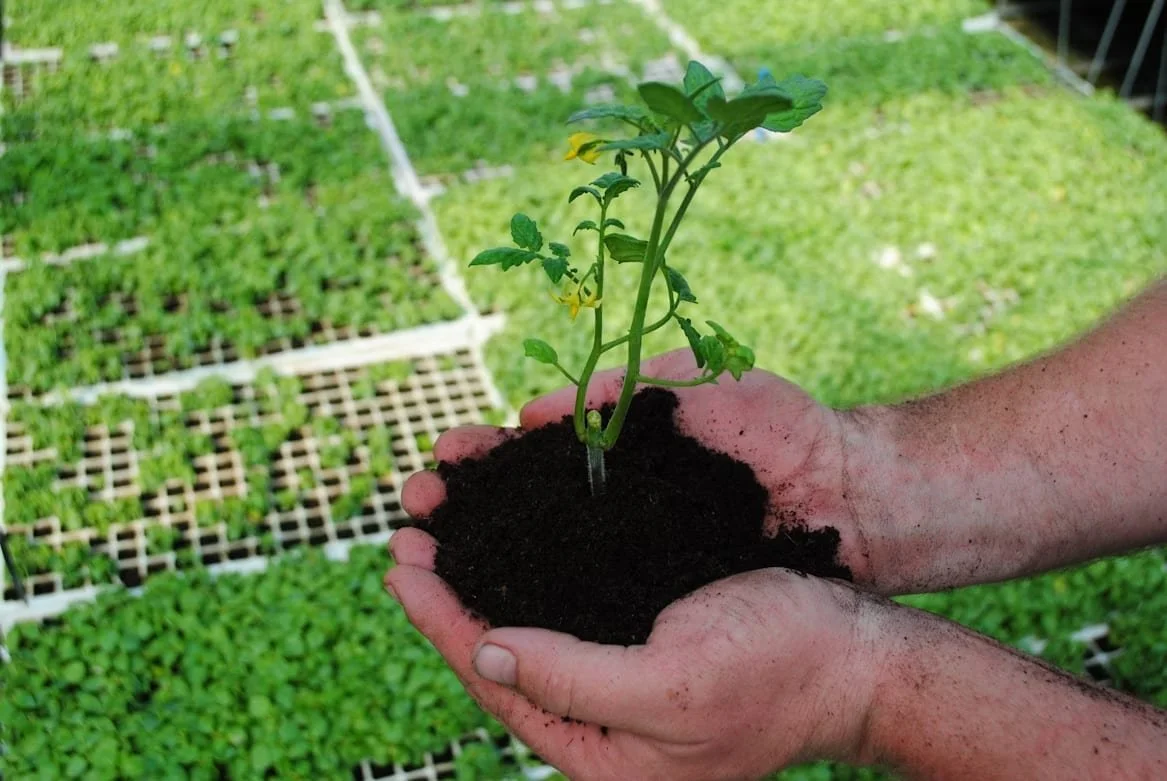
Pick healthy, non-flowering stems, about 4–6 inches long, and make your cut just below a node—that’s the swollen point where leaves or buds emerge. Nodes are key—they’re where rooting hormones are naturally concentrated and where roots are most likely to form.
Strip away the lower leaves to expose at least one or two nodes below the soil line. If the plant has large leaves (like fig or hydrangea), you can snip them in half to reduce water loss. It may feel counterintuitive, but it allows the plant to focus its energy on root development rather than supporting leaf tissue.
Rooting Methods: Water or Soil?
Once you’ve taken your cuttings, you’ll need to choose your method. I often let the plant tell me which route to take.
Water Rooting
This is perfect for quick-rooters like:
Basil
Coleus
Pothos
Mint
Oregano
Place your cuttings in a clean jar with non-chlorinated water and set it in a spot with bright, indirect light. Change the water every few days, and watch for root nubs to appear—often in just a week or two.
Once those roots are at least 2 inches long, transfer the cutting to a pot with well-draining soil. Be gentle—those roots are tender—and keep the soil evenly moist as the plant transitions.
Avoid letting rooted cuttings linger too long in water, as they can develop mushy roots or fail to adapt to soil conditions later.
Soil Propagation
For woodier plants or cuttings that don’t take well to water, soil is the way to go. Good candidates include:
Lavender
Rosemary
Hydrangea
Salvia
Spirea
Forsythia
Rose of Sharon
Use a well-draining mix, such as equal parts peat or coconut coir and perlite or coarse sand. I like to pre-moisten the mix before sticking the cuttings in, so I’m not jostling them around trying to water after planting.
Dip the cut end in rooting hormone if you have it—it’s optional, but often helpful—and stick the stem in about an inch deep.
Now, cover your pot with a humidity dome, a clear plastic bag, or a small propagation chamber to retain moisture. Keep the container in a bright but shaded location, like an east-facing porch or under grow lights indoors.
Every few days, remove the cover briefly to let in fresh air and prevent mold. In 1–3 weeks, gently tug on the cutting. If it resists, roots are forming!
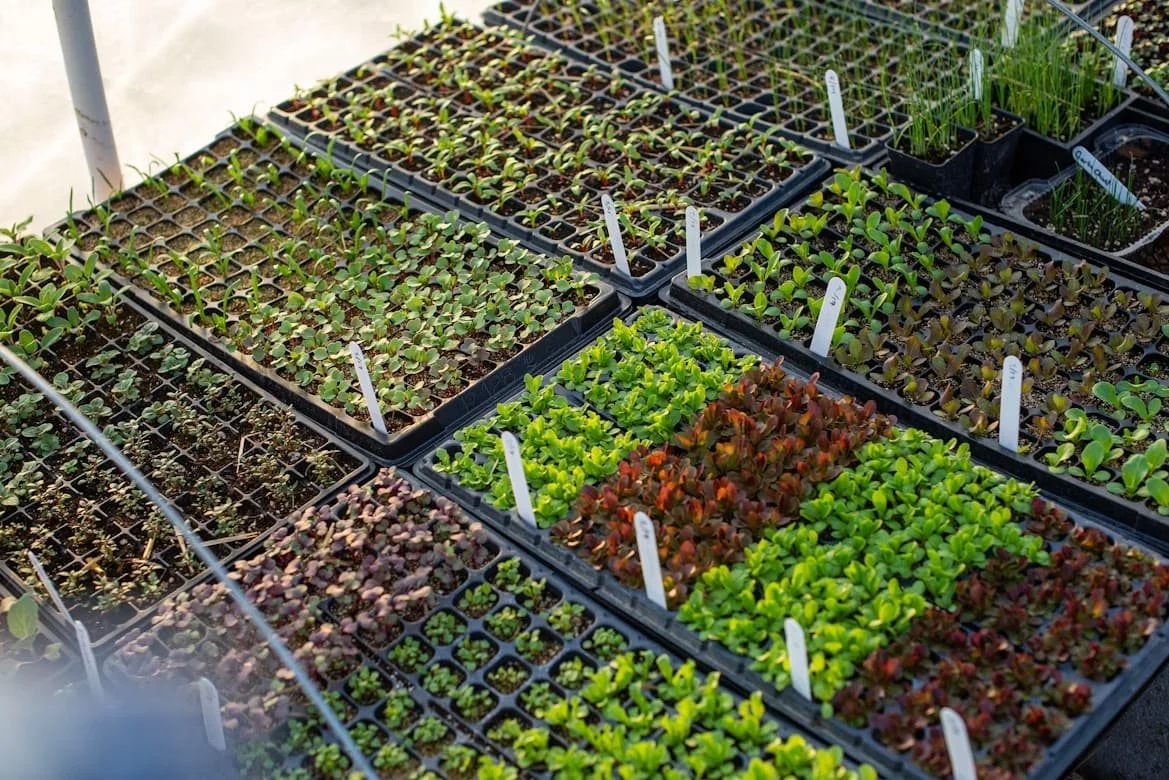
Some Plant-Specific Tips
Here are a few plants I work with in August and how I approach each one:
Hydrangea (macrophylla or paniculata): Use semi-woody stems with 2–3 nodes. Remove all but the top leaves, dip in rooting hormone, and keep humid. Rooting usually takes 3–4 weeks.
Basil, Mint, Oregano, Thyme: Root easily in water. Just give them bright, indirect light and transplant quickly once roots appear. Great for beginners.
Salvia and Coleus: Easily root in either water or soil. If you’re making fall planters, start propagating these now and pot them up in late September.
Rosemary and Lavender: Use semi-hardwood tips, about 4 inches long. Strip the lower leaves, dip in hormone, and use soil propagation. Be patient—these can take a month or more to root.
Spirea, Forsythia, Rose of Sharon: Softwood cuttings from this season’s growth root well in a shaded area with moderate humidity.
Hardening Off and Potting Up
Once you’ve got roots, your new plants need to acclimate to the real world. Up until now, they’ve been pampered with high humidity and filtered light. If you transplant too suddenly, you risk transplant shock.
Start by cracking open the humidity dome for a few hours each day. Then move the pots to a brighter location—maybe a few hours in the morning sun, increasing gradually each day.
After about a week, your new plants should be ready for life outdoors or in a greenhouse. Some folks pot them into larger containers at this point; others go straight into the ground. It depends on the plant and your plans.
Why It Matters (More Than You Might Think)
Of course, propagation saves money. Instead of buying five new shrubs, you multiply what you already have. But more than that, you form a connection with your plants.
You come to understand how they grow, what they need, and how they respond to your care.
And you begin to see the garden as something renewable—not just a place to consume, but a place to co-create.
I once took cuttings from an old stand of elderberries that had grown wild along the creek near my childhood home. With some rooting hormone, damp soil, and faith, I turned them into a dozen young shrubs. Years later, they form the hedge around my greenhouse—offering shelter to birds, medicine for the pantry, and memories I hadn’t realized could take root in soil.
That’s the power of propagation.
It’s not just about growing plants. It’s about carrying forward stories.
I’ve received rose cuttings from a client whose grandmother grew them in her backyard in Mississippi. I’ve passed along sprigs of oregano to a neighbor who wanted to fill a raised bed with herbs from our garden walk. Every cutting is a small act of generosity—toward yourself, toward someone else, and toward the land.
Tips for Success
Label everything. It’s easy to lose track when you’re rooting multiple varieties.
Don’t overcrowd cuttings. Give them air circulation and space to breathe.
Be patient. Some cuttings take weeks to root. Some don’t root at all. That’s okay. Every one that does is a small miracle.
Use what you have. Yogurt cups, old takeout containers, mason jars—whatever can hold soil and moisture can become a propagation vessel.
Keep a propagation journal. It helps to record what works (and what doesn’t), especially from year to year.
Sharing the Harvest
Once your cuttings have rooted and grown, consider sharing them. Give a pot to a friend, a neighbor, a local school garden. Nothing makes me happier than hearing someone say, “This plant came from Logan’s garden.” It’s a legacy of care—one that costs nothing but time and attention.
So if you’ve got a few minutes this week, head outside with your pruners and a mason jar. Find a stem you love. Cut it gently. Place it in water or tuck it into soil. And wait.
There’s no rush. No deadline. Just the promise that, given a little patience, life will go on.
Here’s to making more life from what we already have. And to passing along green gifts that root in more than just soil.
Yours in green-thumbed adventure,
Logan
P.S. Curious about what cuttings root best in your zone, or want help setting up a propagation station in your greenhouse or hoophouse? I’d love to help. Visit Unicorn Farm Nursery & Landscaping to schedule a consultation and start multiplying the plants you already love.