Composting Through the Cold Season
Dear Friend,
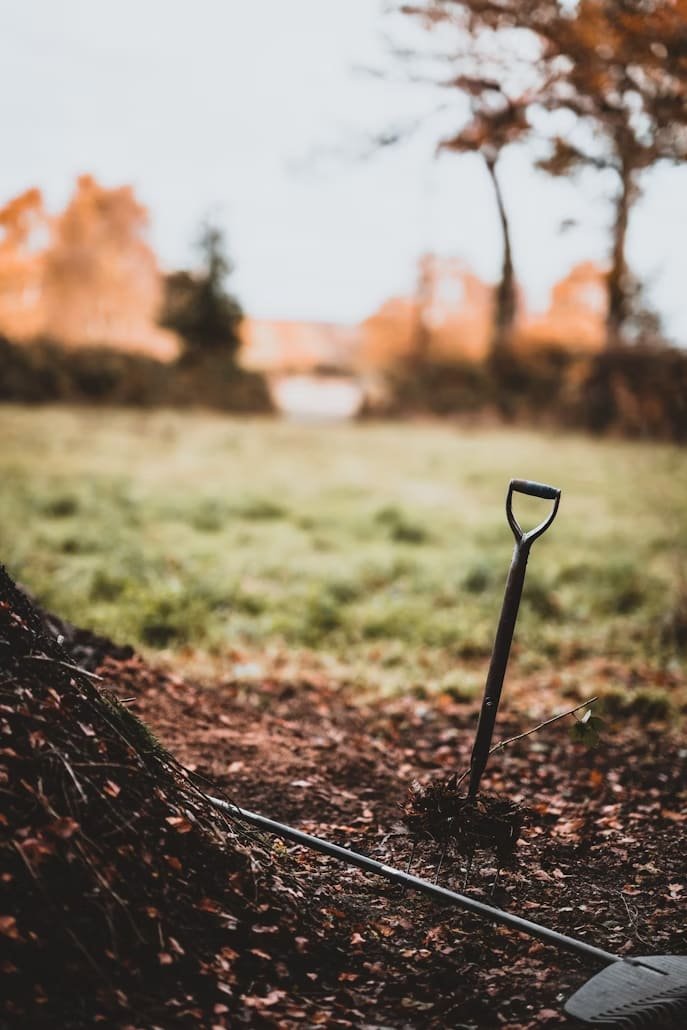
By mid-November in the mountains, the air has settled into its winter character. The woodpile’s stacked high, the last stubborn marigolds have finally given in to frost, and the soil in the garden has that heavy, damp feel that tells you it’s time to shift gears. But just because the garden has slowed doesn’t mean the compost pile has to.
A lot of folks think composting is strictly a warm-season job — that once the frosts hit, the heap just freezes up and waits until spring. And while it’s true that decomposition slows in cold weather, with the right approach you can keep a compost system active all winter here in Asheville. Not only will it keep breaking down your kitchen and garden scraps, but winter composting sets you up with rich, finished compost just in time for spring planting.
Today, I’ll walk you through the science of cold-season composting, the methods that work best in our climate, and a few tricks from mountain gardeners who’ve been turning scraps into soil long before compost tumblers were a thing.
Step 1: Understanding What Changes in Winter
Composting is driven by microorganisms — bacteria, fungi, and actinomycetes — that break down organic matter. These microbes are most active in the mesophilic (68–113°F) and thermophilic (113–160°F) ranges. In summer, it’s easy to keep a pile hot enough for rapid decomposition.
In winter, cooler ambient temperatures and reduced microbial activity slow the process. But “slow” is not “stop.” Even at 40°F, decomposition continues — just at a gentler pace. The goal in winter composting is to:
Maintain enough mass to hold internal heat.
Keep the carbon-to-nitrogen ratio balanced so microbes stay active.
Protect the pile from excessive moisture loss or saturation.
Step 2: Building Winter Mass
A compost pile loses heat quickly if it’s too small. In cold weather, you want at least 3x3x3 feet (1 cubic yard) of material to create an insulating core where microbial activity can generate warmth.
If you’re short on volume, combine material from multiple small piles into one large winter pile.
Use straw bales, pallets, or wooden bins to contain and insulate the heap.
Mountain tip: Some old-timers here used to compost in sun-facing hollows with natural windbreaks — warmer microclimates make a real difference in winter decomposition.
Step 3: Feedstock Management
A healthy compost pile, winter or summer, needs the right balance of “greens” (nitrogen-rich) and “browns” (carbon-rich).
Greens (N): kitchen scraps, fresh grass clippings, coffee grounds, manure.
Browns (C): dried leaves, straw, shredded paper, wood shavings.
Aim for a C:N ratio around 25–30:1. Too much nitrogen in winter can lead to odor problems since lower microbial activity means slower breakdown of ammonia. Too much carbon slows decomposition even further.
Step 4: Moisture Control in the Cold Months
The microbes need moisture to survive — think of a wrung-out sponge. In winter, two challenges arise:
Excess moisture from rain or snow can saturate the pile, driving out oxygen and causing anaerobic conditions.
Drying out from cold winds can stall decomposition.
Solutions:
Cover piles with a breathable tarp or thick layer of straw to shed heavy precipitation while allowing gas exchange.
In prolonged dry spells, water lightly — but avoid overwatering when temperatures are near freezing.
Step 5: Methods for Cold-Season Composting
A. Hot Pile, Maintained
Build a large pile in early winter with a mix of nitrogen and carbon.
Turn every 3–4 weeks to aerate and redistribute heat.
Works best for gardeners who generate enough material to keep feeding the pile.
B. Cold Pile, Stockpiled for Spring
Add materials steadily through winter without much turning.
In spring, mix, water, and turn to reheat and finish.
Less labor, but slower compost output.
C. Insulated Bins or Tumblers
Enclosed composters or insulated bins retain more heat than open piles.
Tumblers are easier to turn in cold weather but require consistent feeding to stay warm.
D. Vermicomposting Indoors
Worm bins kept in a basement, garage, or heated shed.
Red wigglers (Eisenia fetida) turn kitchen scraps into worm castings year-round.
Scientific note: Worms prefer 55–77°F; temperatures below 40°F will cause die-off.
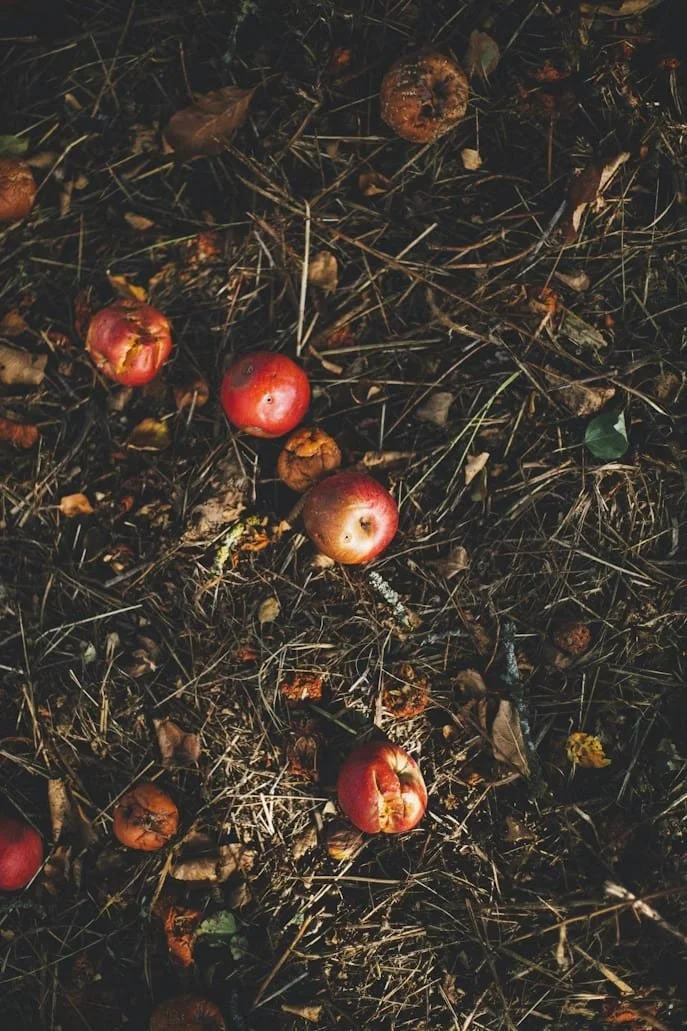
Step 6: What to Compost (and What to Avoid) in Winter
Good winter inputs:
Kitchen scraps (vegetable peels, fruit scraps, coffee grounds)
Chopped garden waste (disease-free)
Fall leaves (shredded for faster breakdown)
Straw, shredded paper, cardboard
Avoid in winter:
Diseased plant material — may not reach temps to kill pathogens
Weeds with seeds — same reason
Large woody branches — better chipped and used as mulch
Step 7: Troubleshooting Winter Compost
Pile smells sour: Too wet, not enough air. Add browns, turn the pile, improve drainage.
Pile frozen solid: Wait for a thaw; add new greens and browns, mix well.
Critters visiting: Avoid meat/dairy; bury fresh scraps deep in the pile.
Closing Thoughts
Winter composting isn’t about speed. It’s about continuity — keeping the cycle of life in motion even when the garden is resting. Come spring, when you spread that crumbly, earth-scented compost into your beds, you’ll be feeding more than just your plants. You’ll be feeding the living web beneath your feet that keeps this mountain soil rich for generations.
So bundle up, toss another layer on the pile, and let your compost quietly work through the cold season. It’s one of the simplest ways to keep your garden alive all year long.
Yours in the turning heap,
Unicorn Farm Nursery & Landscaping