How to Cold Stratify Seeds — Starting Native Seeds the Reliable Way
Dear friend,
If you’ve ever tried to grow native plants from seed, you’ve probably had that moment where you wondered whether the seed was old, whether you did something wrong, or whether native plants are just… difficult. Maybe you’ve wondered how to cold stratify seeds to give them the best chance.
Most of the time, they aren’t difficult.
They’re specific.
Many native seeds carry dormancy mechanisms that evolved to protect them from germinating at the wrong time—like a warm spell in January that would coax a seed to sprout only to be killed by the next freeze. Choosing the right seeds for cold stratification ensures you’re working with species that actually respond to winter’s cues. In the wild, these seeds fall to the ground, sit through cold, wet weather, and germinate when spring truly arrives. Cold stratification is simply our way of honoring that pattern.
The good news is that cold stratification doesn’t have to be fussy. It isn’t a mysterious ritual. It’s just moist cold over time.
That phrase—moist cold—matters. Dry cold in a jar isn’t the same thing. These seeds are sensing conditions, not just temperature. They need moisture to trigger the internal changes that allow germination, and they need time—sometimes a few weeks, sometimes a few months.
One of the most common mistakes I see is treating stratification like a checkbox rather than a process—people want a quick answer on how to cold stratify seeds instead of paying attention to the rhythms each species requires. People hear “stratify for 30 days,” put seeds in the fridge, and assume that’s the whole story. But different species have different dormancy levels, and different seed lots behave differently depending on how they were harvested, stored, and handled. This is where patience and observation matter more than precision.
If you’re starting native seeds, there are a few workable approaches.
The refrigerator method is popular because it’s controlled. If you’re figuring out how to cold stratify seeds, this method is the most predictable: mix seed with a slightly moist medium—something that holds moisture without becoming muck—seal it, and keep it cold. The goal isn’t soaking wet. The goal is consistently damp, with enough airflow that nothing rots. Check occasionally. If you see mold, it doesn’t automatically mean failure, but it does mean conditions are out of balance. You can adjust moisture, improve airflow, or move seeds into a cleaner medium.
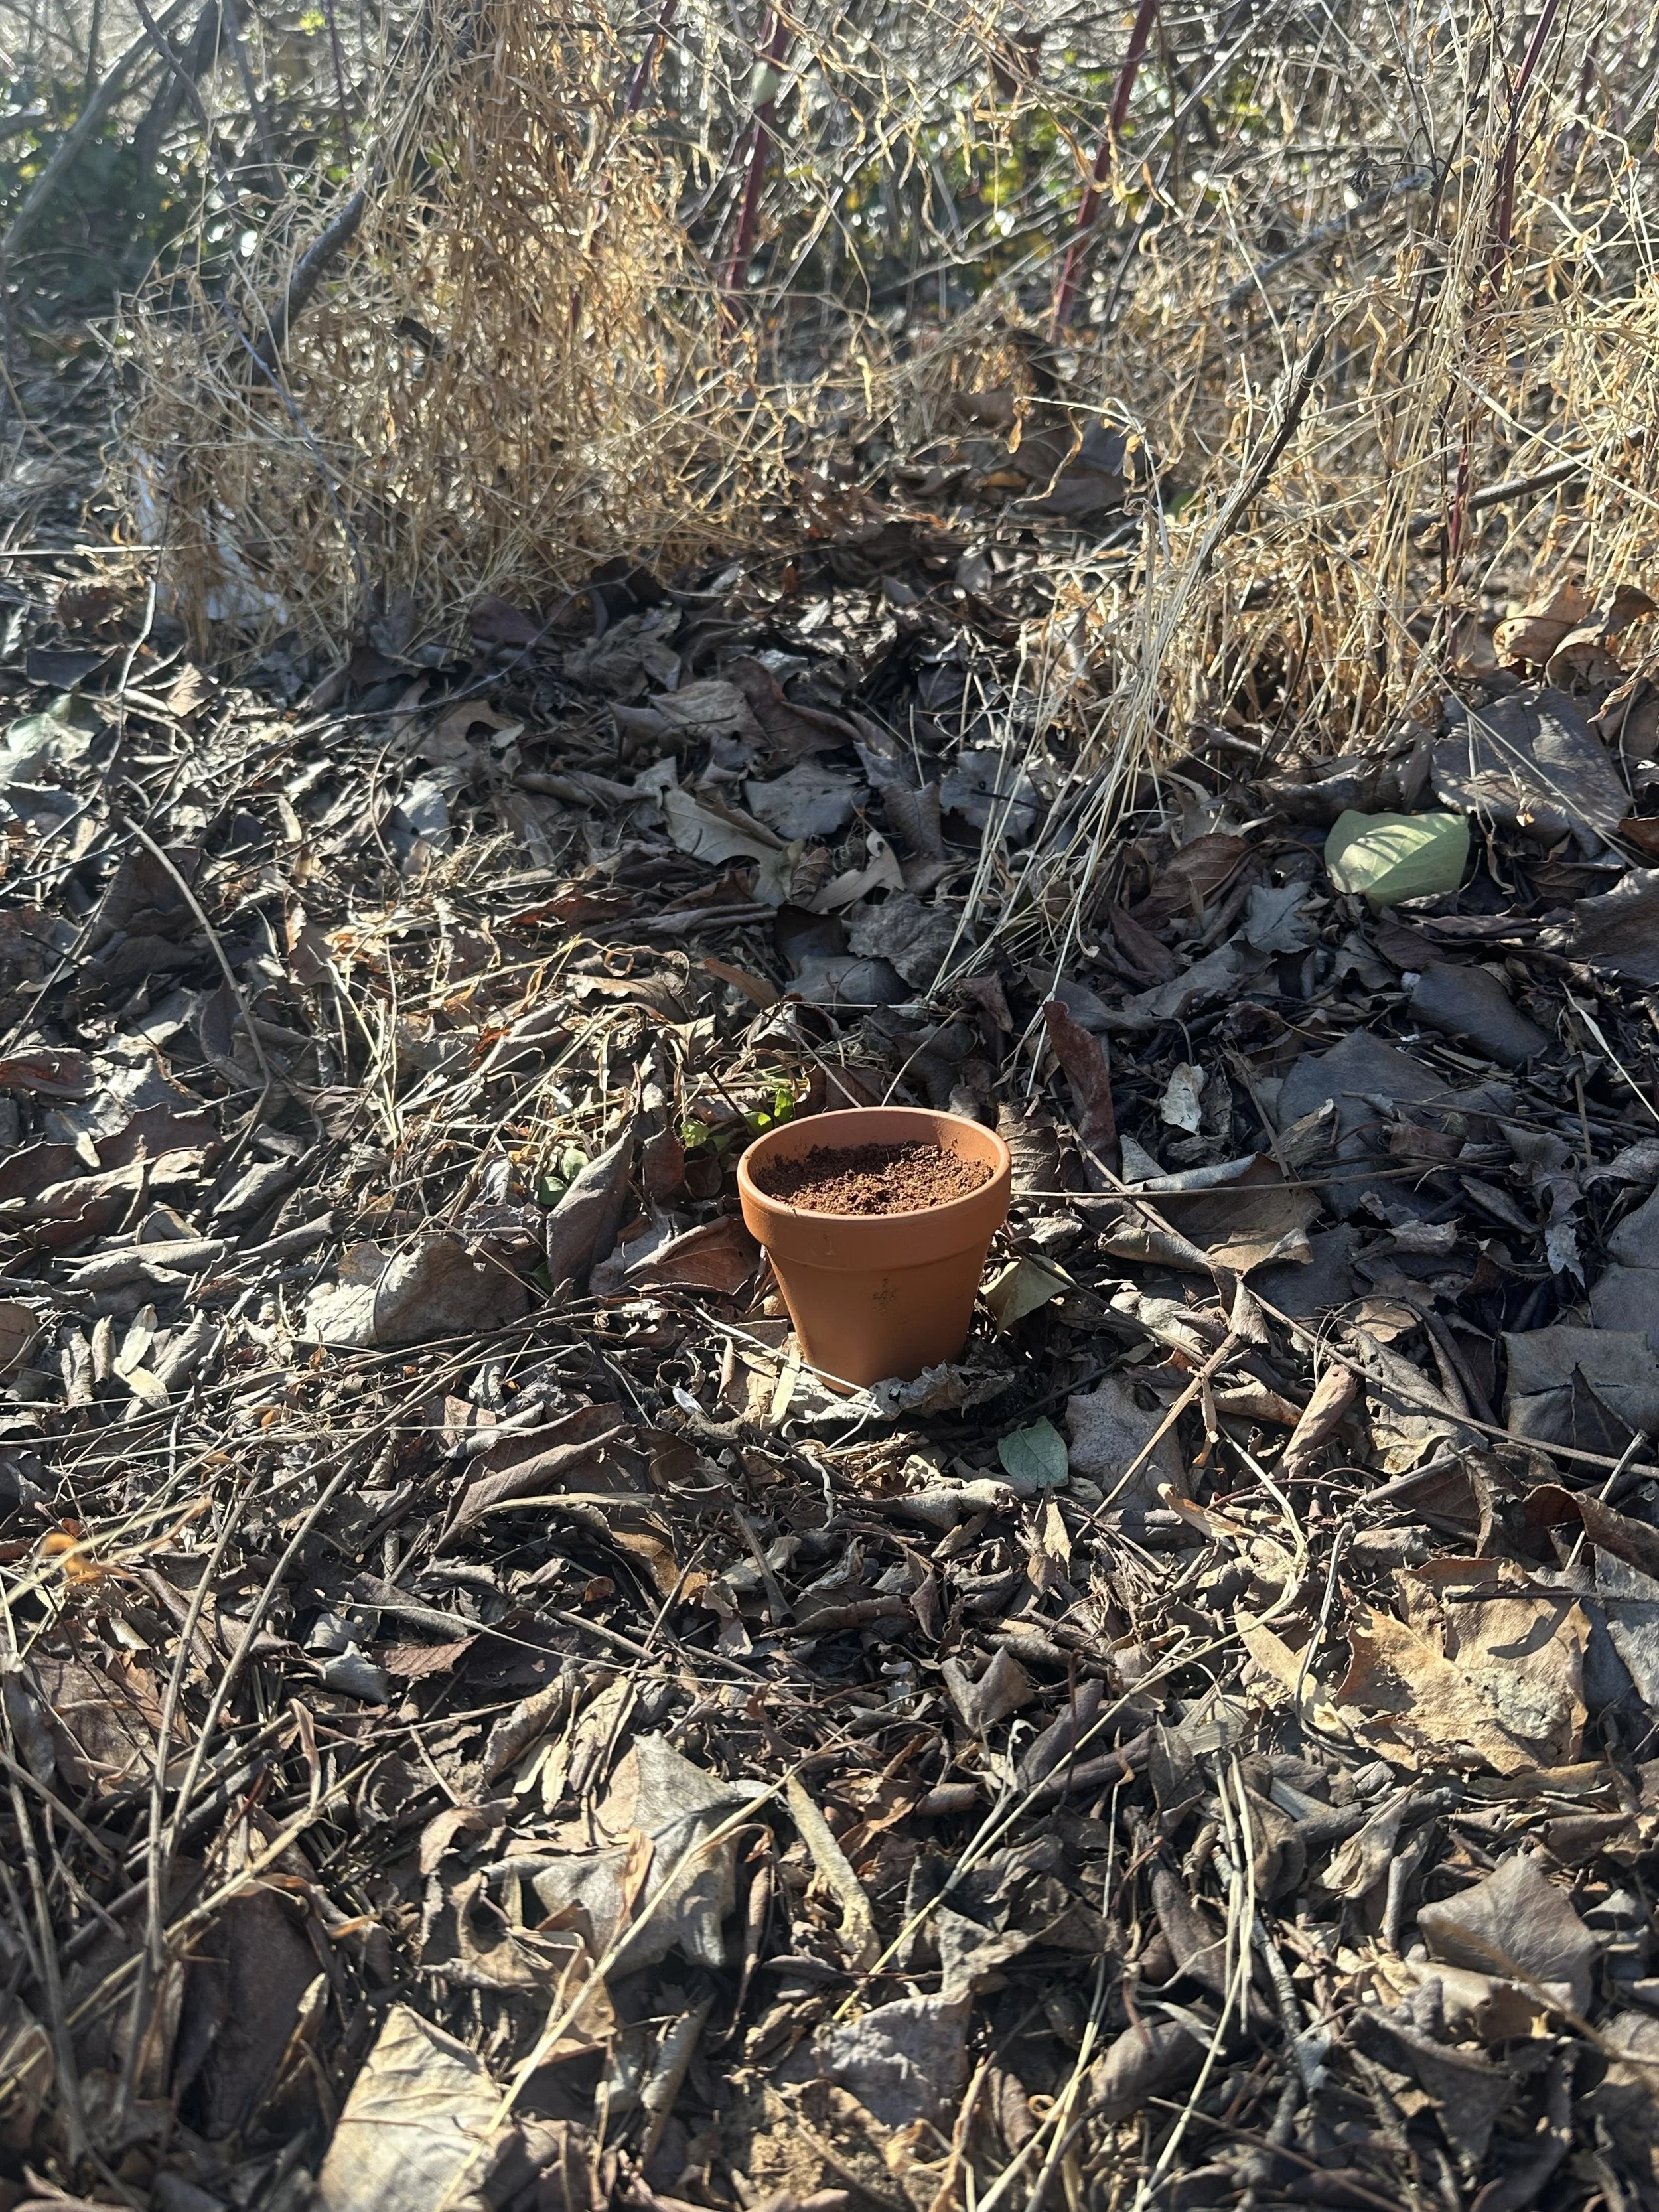
The outdoor method is older and, in many ways, more natural: sow seeds in pots or flats and let them experience winter outside. This approach requires protection from heavy rain and curious animals, but it has the advantage of letting the seed decide when to wake up. In our region, this often produces seedlings that are well adapted from day one—hardened by reality rather than pampered indoors.
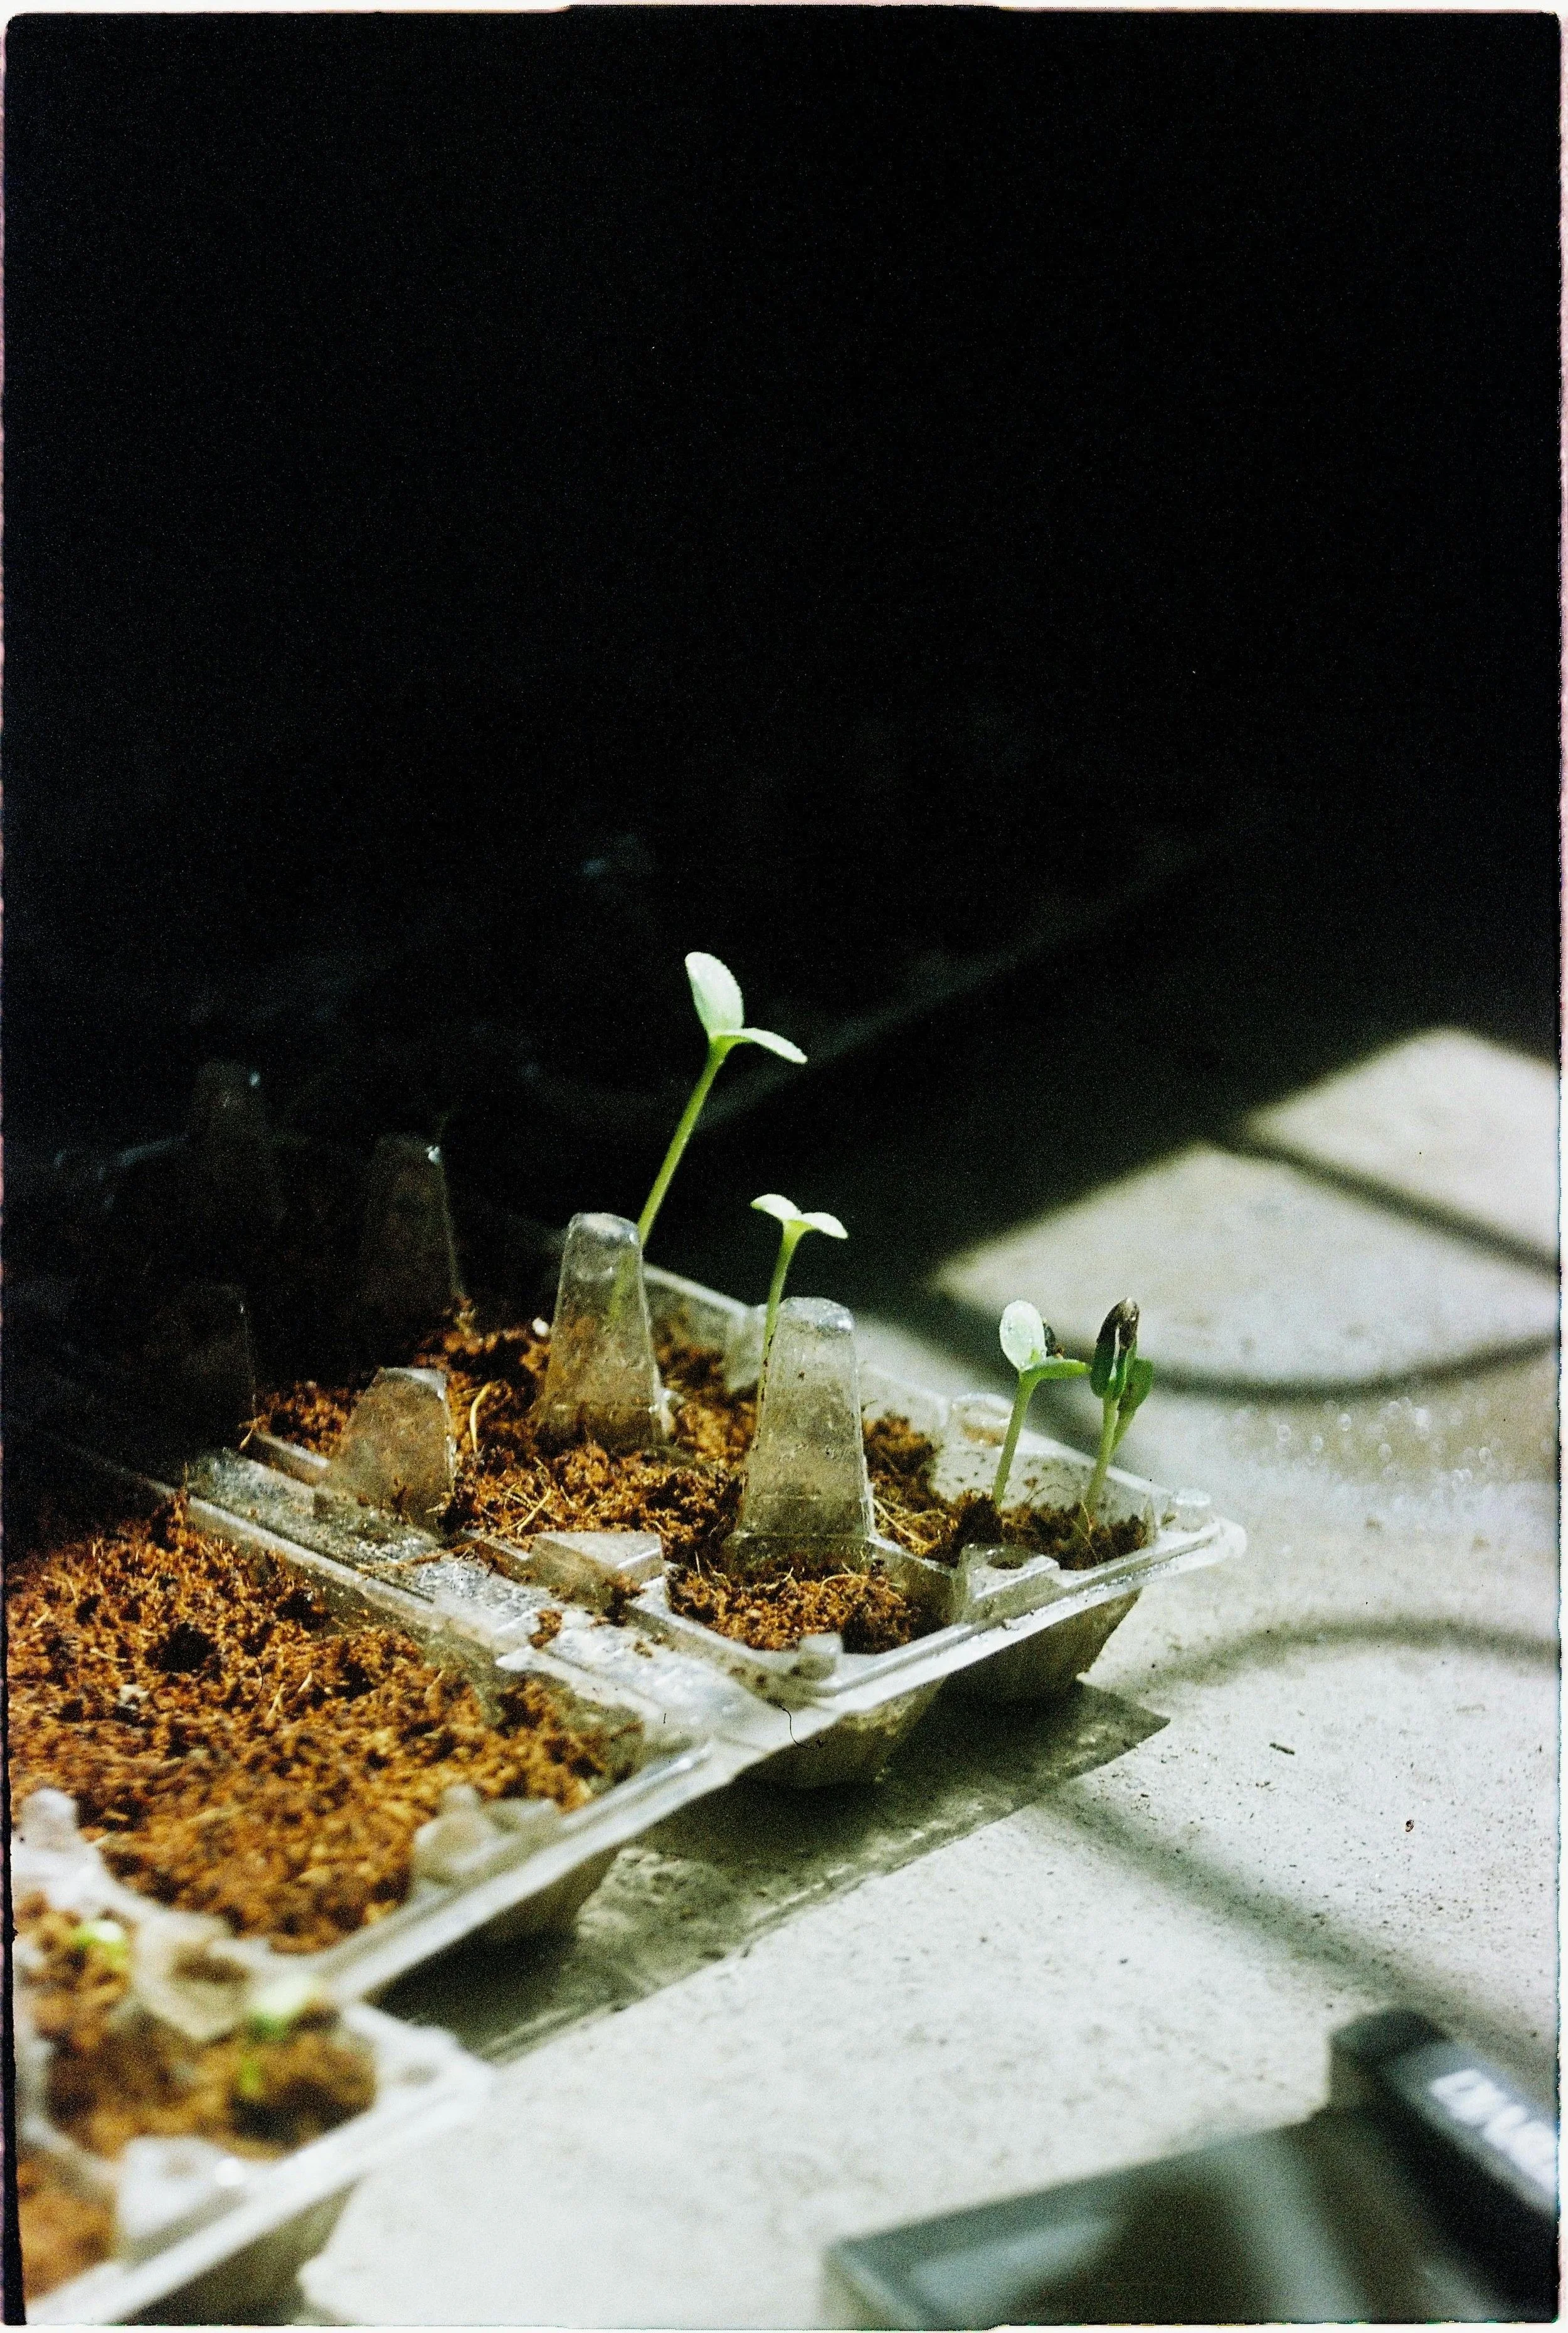
Winter sowing in containers—milk jugs, clear tubs, or similar—lands somewhere in the middle and is another approachable way to see how to cold stratify seeds while still protecting them from extreme weather. It’s outdoor stratification with a small climate buffer, and it’s a satisfying way to feel like you’re “starting” even when the ground is still cold.
What matters most, regardless of method, is matching expectations to biology. Some native seeds germinate quickly after a cold period. Others are slow on purpose. Some emerge in waves. Some need a warm period after cold. Some require light and should be surface-sown. Native seed starting teaches humility. It asks you to stop forcing and start collaborating.
It’s also important to talk about ethical sourcing. Native plants aren’t a theme or a trend; they’re part of an ecosystem. Seed collection can be done responsibly, but it requires restraint, permission, and care—always leaving plenty behind for wildlife and natural regeneration. If you’re purchasing seeds for cold stratification, look for suppliers who collect responsibly and label provenance when possible. The more we treat native plants as community members rather than commodities, the healthier our landscapes become.
If you do start native seeds, keep notes. Dates matter, but so do conditions—and jot down what you learn about how to cold stratify seeds for each species, because experience often beats instructions. Where were the pots placed? How wet did they stay? When did germination begin? Which species took off, and which took their time? Over the years, those notes become a local map—teaching you what your site supports naturally, whether it favors moisture lovers, dry-slope survivors, woodland plants, or meadow species.
That knowledge pays dividends. Natives started from seed often develop deep, resilient root systems, and while they may not impress in year one, they frequently become the backbone of a garden by year three.
That’s one of the reasons native seed work is so powerful. It slows the timeline. It shifts focus away from instant gratification and toward real establishment. It teaches you to think the way the land thinks.
If you’d like support selecting native species that match your property’s microclimates—or setting up a simple, realistic stratification and sowing plan, including guidance on how to cold stratify seeds——you can learn more on our website and explore consultation options there.